
Many people have heard of Plex over the years for hosting your own copies of movies you own or home videos, but Jellyfin is an up and coming player in the field of personal streaming services that has emerged in recent years.
Jellyfin is an open-source fork of Emby as a response to the closing of some of the open source code used on the Emby project and thus Jellyfin was born.
Availability
Despite only being around since December 30, 2018, Jellyfin is surprisingly robust, boasting dedicated apps for Windows, Mac, Linux, Android, iOS, Roku, Chromecast and many more.
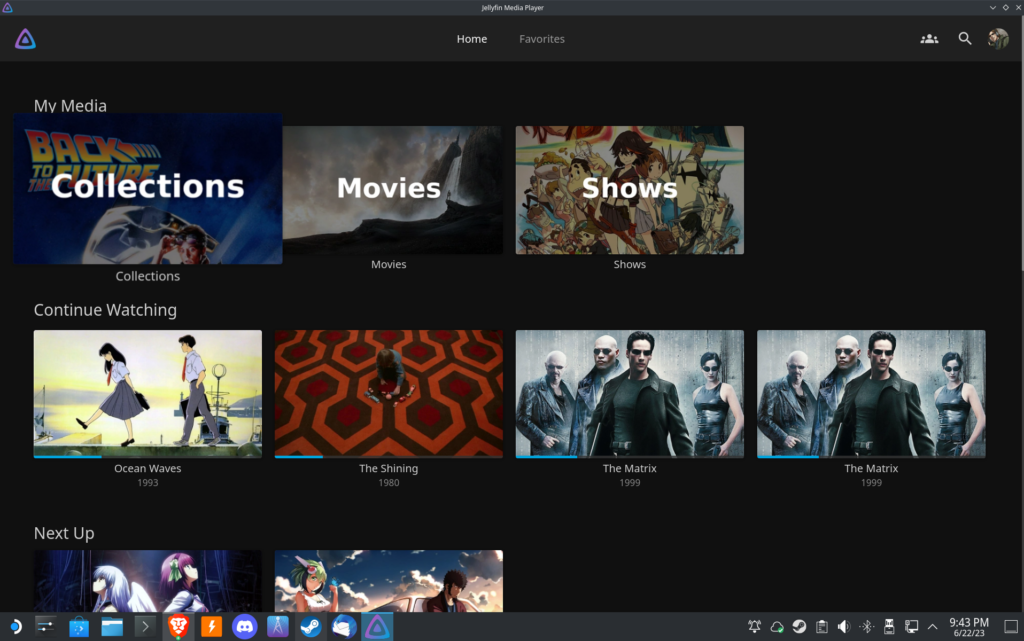
It’s clients are responsive and boast a wide range of features such as integration with Rotten Tomatoes for information on actors and SyncPlay which allows you to synchronize movie viewing with friends online.
Some features notably missing is a lack of Two-Factor Authentication and the ability to download videos for offline viewing.
An Alternative to Plex
Jellyfin proves itself to be a viable alternative to Plex and even better in many ways due to the open-source nature. This means you don’t encounter any of the paywalls encounted by Plex and unofficial plugins are allowed.

How to Deploy Your Own Instance
As you may expect, my recommended method for deploying Jellyin is with Docker. This project requires you have the jwilder Nginx proxy running with the Let’s Encrypt proxy companion as outlined in this article.
A link to this project on GitHub can be found here.
There are two components to this project, the environment file and docker compose file.
Environment File
Environment files in docker-compose projects are named .env with the ‘.’ denoting it is a hidden file. So if you don’t see the file in your directory then run an ‘ls -a’ to show all files.
The two fields of note are:
LETSENCRYPT_EMAIL=email@domain.com
VIRTUAL_HOST=your.domain.here
Simply fill in the email you want associated with Lets Encrypt renewals and the domain name you are using to point to your server. Be sure not to put https in front of the URL.
After setting these values lets look at the docker-compose.yml file.
Docker Compose
This is where most of the action takes place.
---
version: "2.1"
services:
  jellyfin:
    image: lscr.io/linuxserver/jellyfin:latest
    container_name: jellyfin
    environment:
      - PUID=1000
      - PGID=1000
      - TZ=America/Chicago
      - JELLYFIN_PublishedServerUrl=${VIRTUAL_HOST} #optional
      - VIRTUAL_HOST=${VIRTUAL_HOST} #added for nginx
      - LETSENCRYPT_HOST=${VIRTUAL_HOST} #added for LE automation
      - VIRTUAL_PORT=8096
    volumes:
      - ./config:/config
      - ./tvshows:/data/tvshows
      - ./movies:/data/movies
    ports:
      - 8096:8096
      - 8920:8920 #optional
    restart: unless-stopped
#Section below to put it on the same network as nginx
networks:
  default:
    external:
      name: nginx-proxy
Starting on line 10, you should set the Timezone setting to the appropriate value. You may also remove this line to default to UTC time.
Lines 11-13 will pull from the environment variable you set in your .env file, these lines set the domain for Jellyfin, tell NGINX what to proxy, and inform Let’s Encrypt what cert to issue.
Virtual Port
As opposed to all my other docker projects, this one provided a unique challenge in proxying it through NGINX using the jwilder method.
So on line 14 I had to set a virtual port to 8096. This communicates to the NGINX proxy companion which port to proxy through. This is notable because by default the proxy companion tends to only want to proxy through ports 443 or port 80.
For now leave this as port 8096 and lets move on.
Volumes
Next on lines 15-18 we need to make your media files available in the project directory. I recommend using symbolic links
Example (Run from project directory):
ln -s /path/to/your/movies ./movies ln -s /path/to/your/tvshows ./tvshows
The mapped config directory will be generated on first run so no need to do anything for line 16
Make sure ports 8096 and 8920 are not taken up by other docker projects and make sure the network name at the bottom matches the same network used by your Nginx proxy companion.
If you used the default configuration from the proxy companion then the name should already match.
Editing Your Proxy Configuration
Earlier I mentioned a VIRTUAL_PORT environment variable that is set to 8096. Unfortunately the Nginx proxy companion doesn’t want to proxy that through without modifying it’s configuration files so a few more steps are necessary.
To start off we need to go ahead and bring the project up by running
docker-compose up -d
It will be inaccessible unfortunately, but doing this will cause the Nginx proxy to generate an entry for your Jellyfin instance.
So moving over to the project directory for your Nginx proxy companion we need to navigate to the default.conf file located in
/nginx/conf.d/default.confWe need to add a custom configuration here.
Inside the configuration file you need to locate the entry that was automatically generated by the NGINX proxy for your Jellyfin instance. You can locate it by searching for the DNS entry you specified for that service.
For example, if you named your service jellyfin.mooo.com then you can search that entry in the file.
You should see something that looks like:
upstream jellyfin.mooo.com {
   server 172.18.0.2:80;
Simply add a ’96’ onto the end of the port to make your jellyfin installation accessible. The final product should look like this.
upstream jellyfin.mooo.com {
   server 172.18.0.2:8096;
Final Steps
Finally, to make the changes take effect restart your nginx container. If yours is called ‘nginx’ then run
docker restart nginx
This should make your Jellyfin installation accessible at the domain of you you chose.
And that’s it! I found this docker project particularly difficult due to the issues associated with the proxy companion. It took a long time to figure out how to proxy port 8096 through without losing the changes every night but I learned something about Nginx in the process.
So I hope that helped you. Enjoy Jellyfin!